Making Adjustments For Embroidery

Often we don’t think about all the different ways logos are going to be used when they are being created. Because of that, some adjustments may need to be made for different things. Embroidery is one of those things! Embroidery on hats is something else to consider altogether!!

When sewing a logo on, say, a polo, logos can be pretty tall and it isn’t a problem. There’s plenty of vertical space to work with on shirts. When sewing on hats you have a very limited space of about 2.25 inches. Anything bigger than that won’t work for a hat. Because of this some adjustments will need to be made to any vertical logo to make it fit where it needs to be.

We can often accomplish this by using the main elements of your logo and just reworking it a bit. Bubbles or Not in Harlem GA has a logo that is a perfect example of this. Their standard logo is vertical, but when they wanted to get some hats made we needed to change a few things up to make it happen.
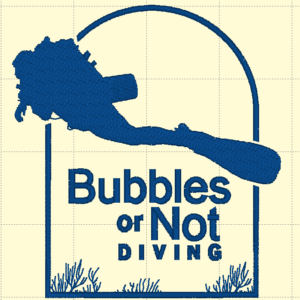


This is their standard logo. It works great on apparel! It does not, however, work great for hats. This version of their logo is over 3 inches tall.


How did we solve this problem? Glad you asked!! We took the diver and the text, reworked it a bit and just like that, we have a file that will work great for a hat!!

Lakeside Beanies

Not Everything Embroiders The Same

When it’s cold out, we get a lot of requests to embroider on beanies and of course we can sew on beanies! We just have to take a few things into consideration before doing it.

All knit items have a texture and a certain amount of thickness and stretch to them. Beanies have a lot more stretch than most, for good reason. What can happen with embroidery is the fine lines and details can sink right into all that texture and get lost. There are a couple of different ways we can fix that problem.

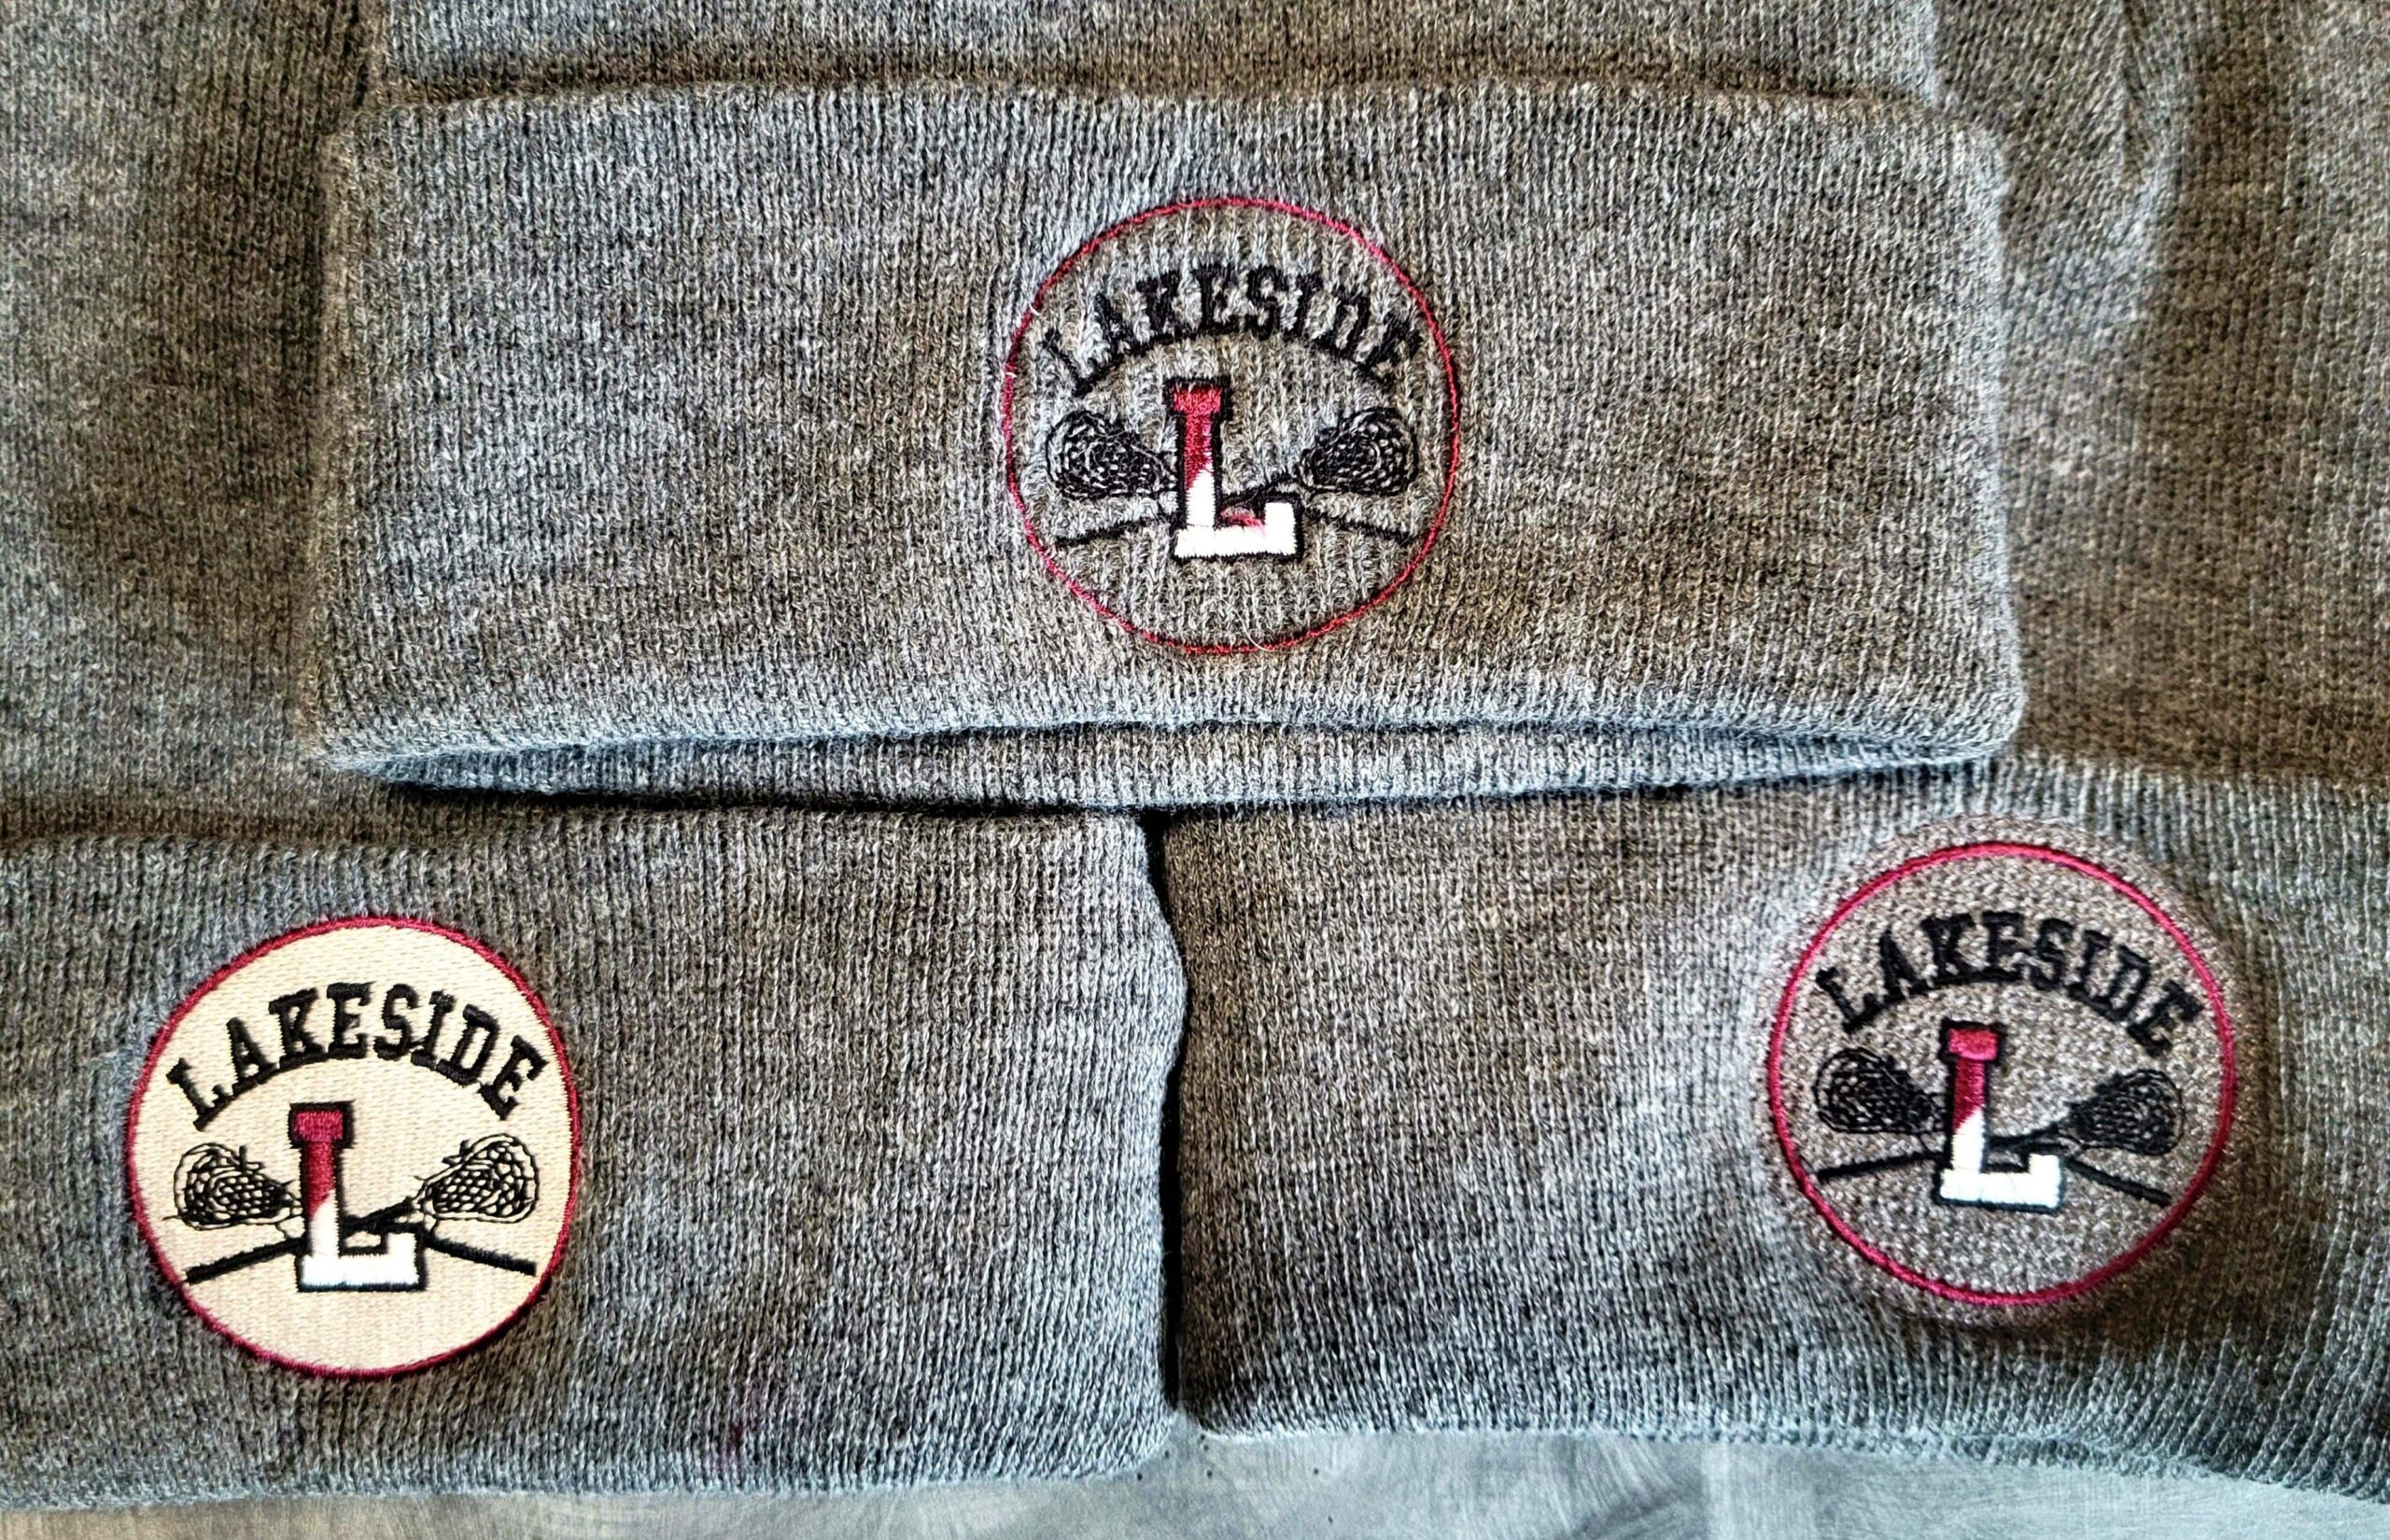
The first one is by using what is called a knockdown stitch. We add some stitching behind what is being put on the item (beanies, sherpa pullovers and blankets, towels, etc.) using a thread color that is as close as we can get to the garment color. This makes it a lot less noticeable and many don’t even see it’s there until we point it out to them. This allows the parts of the embroidery you want to see to sew on top so you can actually see what it is!

Another option is to sew a full background giving your embroidery image the look of a patch. We can put a thick edging on it to add to that look. We make the background what ever color you like and sew all the important stuff on top of it giving it a completely different look.

Below is one example of a beanie without anything, with a knockdown stitch and with a solid fill background. Check out the difference!!

Lakeside Beanies